Product Development
Brakes are not the kind of thing you want to take a chance on. You want a brake kit that has been produced to the highest quality, to international quality standards, and tested to destruction in a number of formats. BCC control all of our design processes with a dedicated in-house product development team. We carry out our own testing until we are 100% satisfied that the product is fit for purpose and we control the manufacturing process in our own UK factory.
Below we give you an idea of the steps we take when creating a new brake design using our ISO9001:2015 quality standard. Make sure the brakes you buy are produced and tested to the highest standards.
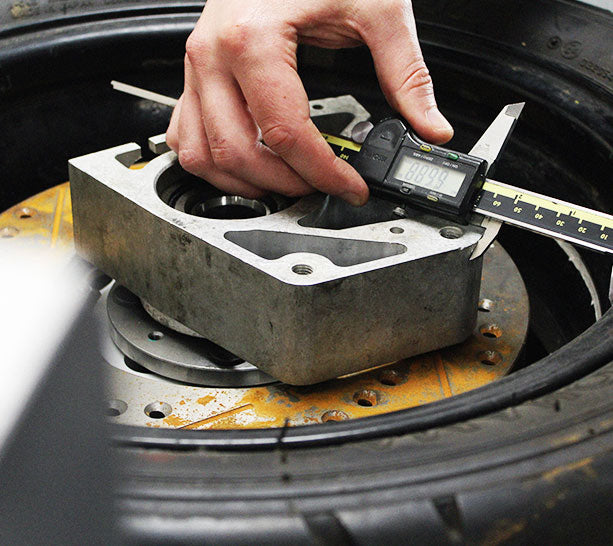
Step 1
ORIGINAL CALIPER RESEARCH
We normally start a new brake design project with input and feedback from owners and enthusiasts who tell us about the poor braking on their vehicle and the lack of high quality replacement options. We then do a lot of research into the market potential for a particular model, the original brakes fitted and the aftermarket options normally with further input from clubs.Once we have decided to go ahead with the development of a new brake kit we start by calculating the effectiveness of the original system and work out the maximum space available for disc, caliper and wheel combinations. Once we know the maximum space we can use, we focus on maximising the brake pad area with different brake pads and disc to find the best solution.
Step 2
COMPUTER AIDED DESIGN PROCESS
The caliper is designed using the market leading SolidWorks CAD design package. Later a CNC programme is created using EdgeCam - Computer Aided Manufacturing software. Our design team create initial basic designs, focusing on achieving the improvements in braking requested by the owners & clubs whilst ensuring we use parts (brake pads, seal kits etc) that are readily available.


Step 3
INITIAL PROTOTYPING
We will often 3D print a new caliper design as it is the quickest and easiest way of check that the caliper fits in the hub, disc and wheel assembly and to ensure we are happy with the look, feel and shape of the caliper.
Step 4
TEST FITTING
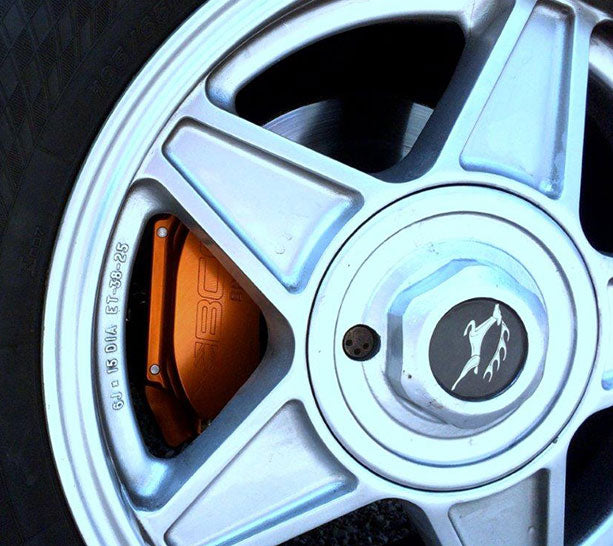
Once the 3D print has been approved, we will create full aluminium prototypes in our factory for testing. Initially we fit the caliper to a vehicle and connect the fluid to check the pedal feel. Most of the time we want to maintain the original 'feel' of the brake whilst improving performance but some vehicles did suffer from particularly soft or hard brake pedals and we can adjust this to improve the driver experience.
Step 5
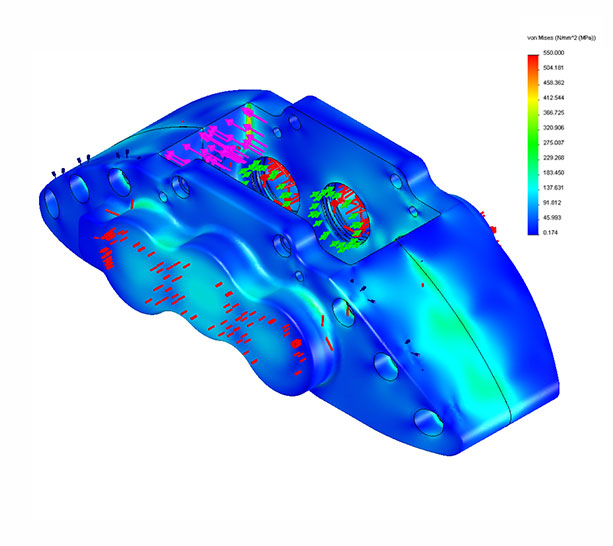
TESTING FEA
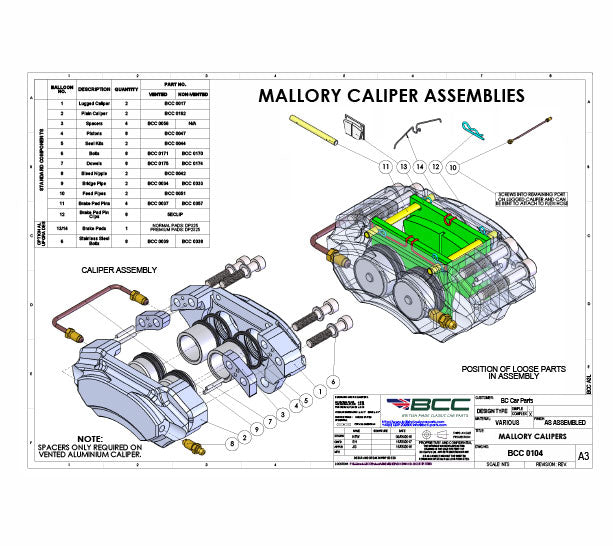
Using Solidworks we carry out a full Finite Element Analysis (FEA) to ensure that the caliper can withstand the pressures it could face once fitted. This takes into account the weight and power of the car, the pad size, friction material, disc size and type and so on to replicate as best possible the real life conditions. We aim for the caliper to be able to withstand at least 1.5 times the maximum pressure the vehicle can exert but we often achieve far more than this. The MK2 Jaguar front caliper, for instance, can withstand more than 7 times the maximum working pressure on the vehicle and we still couldn't destruct it.
Step 6
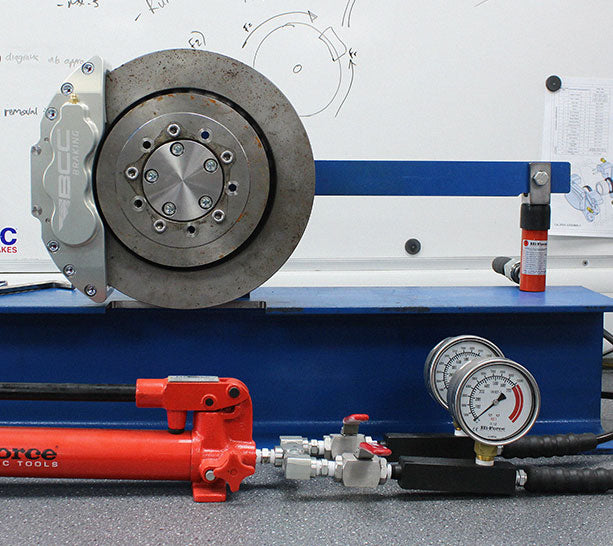
HYDRAULIC PRESSURE TEST
Our Research and Development department have created a hydraulic test rig for calipers which replicate the real world situation and allow us to apply far greater pressures than the car would normally produce. We replicate the centrifugal forces as well as the hydraulic forces inside the caliper and carry out a destruction test to ascertain how much pressure the brake can handle and identify the weakest points.
Step 7
VEHICLE TEST
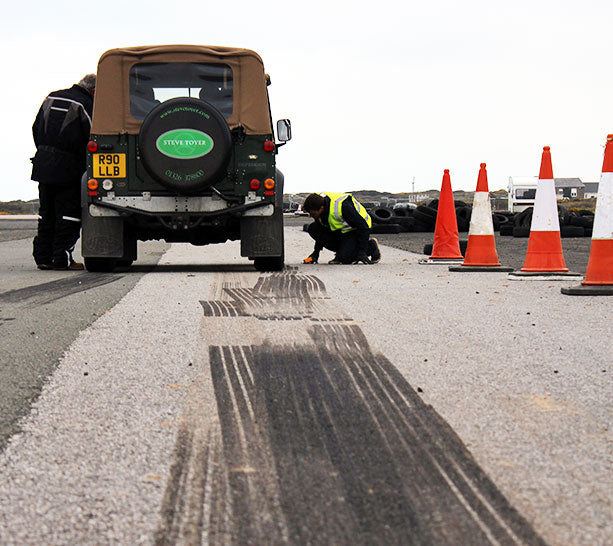
Finally the caliper is fitted to a vehicle and taken to a test track or airfield for some real life brake testing. We rig the car with all kinds of monitoring equipment to track the caliper temperature and a range of other factors whilst braking at different speeds, comparing the results to the original brakes. After successful track testing the calipers are left on the car for longer term feedback where we monitor performance over several thousand miles.
Step 8
FINAL DESIGNS AND PROJECT SIGN OFF
If any of the testing gives us areas for further development we may repeat some of the steps above but once we are happy with the test results the design leader will finalise the drawings and then present them to the wider design team where the product features, test results, manufacturing techniques and so on will be challenged and questioned until everyone is happy to sign off the design as 'ready for manufacture'.
Research and Development
Within the WES Engineering Group we have been designing products for over 30 years for blue chip customers in a range of industries. In 2014 we decided to embrace this further and built a dedicated Research, Development and Innovation facility in our factory which we filled with graduates and product engineers to focus on new product development and testing. We are now approved under ISO 9001 for design as we have developed our processes significantly in the last few years so that we are confident and competent at designing safety critical, complex design projects.
BC Car Parts Ltd have received partial funding from the ERDF in support of a new product development project.


